Posted 01 April 2022. 4:04am

This lesson is intended for beginner photographers who plan to shoot portraits in the future. We will talk about using external flashes when shooting a portrait, you will get acquainted with the basic basic lighting techniques that will help you master this difficult, but very important component of the art of photography. Knowing the basics […]
This lesson is intended for beginner photographers who plan to shoot portraits in the future. We will talk about using external flashes when shooting a portrait, you will get acquainted with the basic basic lighting techniques that will help you master this difficult, but very important component of the art of photography. Knowing the basics and mastering them, you can find your original style. In this article, we will talk about how to use high-contrast lighting at a 90-degree angle, talk about ambient light, reflectors, and so on.
With a minimal set of lighting devices, you get this result: a high-contrast photo. For this portrait, only one light source was used, set at an angle of 90 degrees relative to the model.
As a result, the portrait came out not very pretty: all the roughness of the skin is clearly visible, the transition from light to shadow is too sharp. Without using a diffuser, we get a very contrasty image with deep shadows. The light is distributed unevenly across the face of the model. To somewhat smooth out such a sharp transition from shadow to light and make the shadow zone not so pronounced, use reflectors.
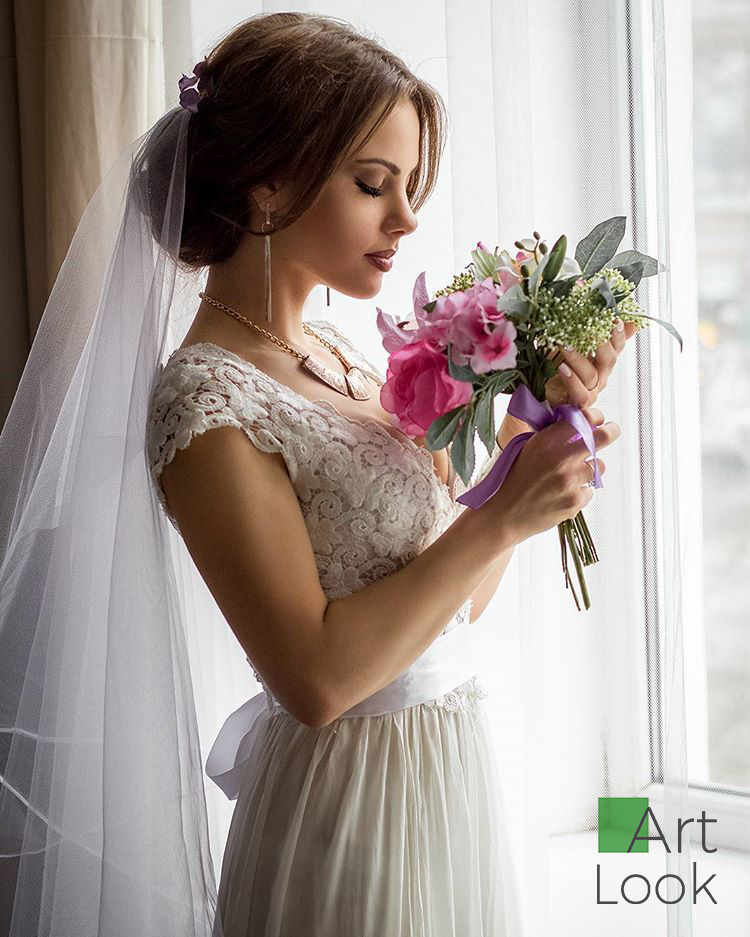
Thanks to the use of a reflector (reflector, light disk) and a light diffuser, we get a completely different picture. Note that the light source and its position relative to the model remain unchanged.
Diffusers (flash diffusers) act on light in the same way that clouds act on the sun’s rays. Light coming from a relatively small source, they scatter over large areas.
Reflectors illuminate with the help of reflected light (which comes from the main source) those details that are in the shadows. As a result, sharp transitions from the shadow to the illuminated area are “smoothed out”, the lighting becomes more uniform.
Approximately the same effect as in the first picture, we get using high-contrast light directed at an angle of 45 degrees. At this angle, there are much fewer shady areas, but they are, nevertheless, quite deep.
From the source installed in this way, the light spreads more evenly and does not emphasize the imperfections of the skin so much, its relief is not so pronounced. But the portrait still leaves much to be desired. Only one side of the face is well lit, to illuminate the other side, we need a reflector.
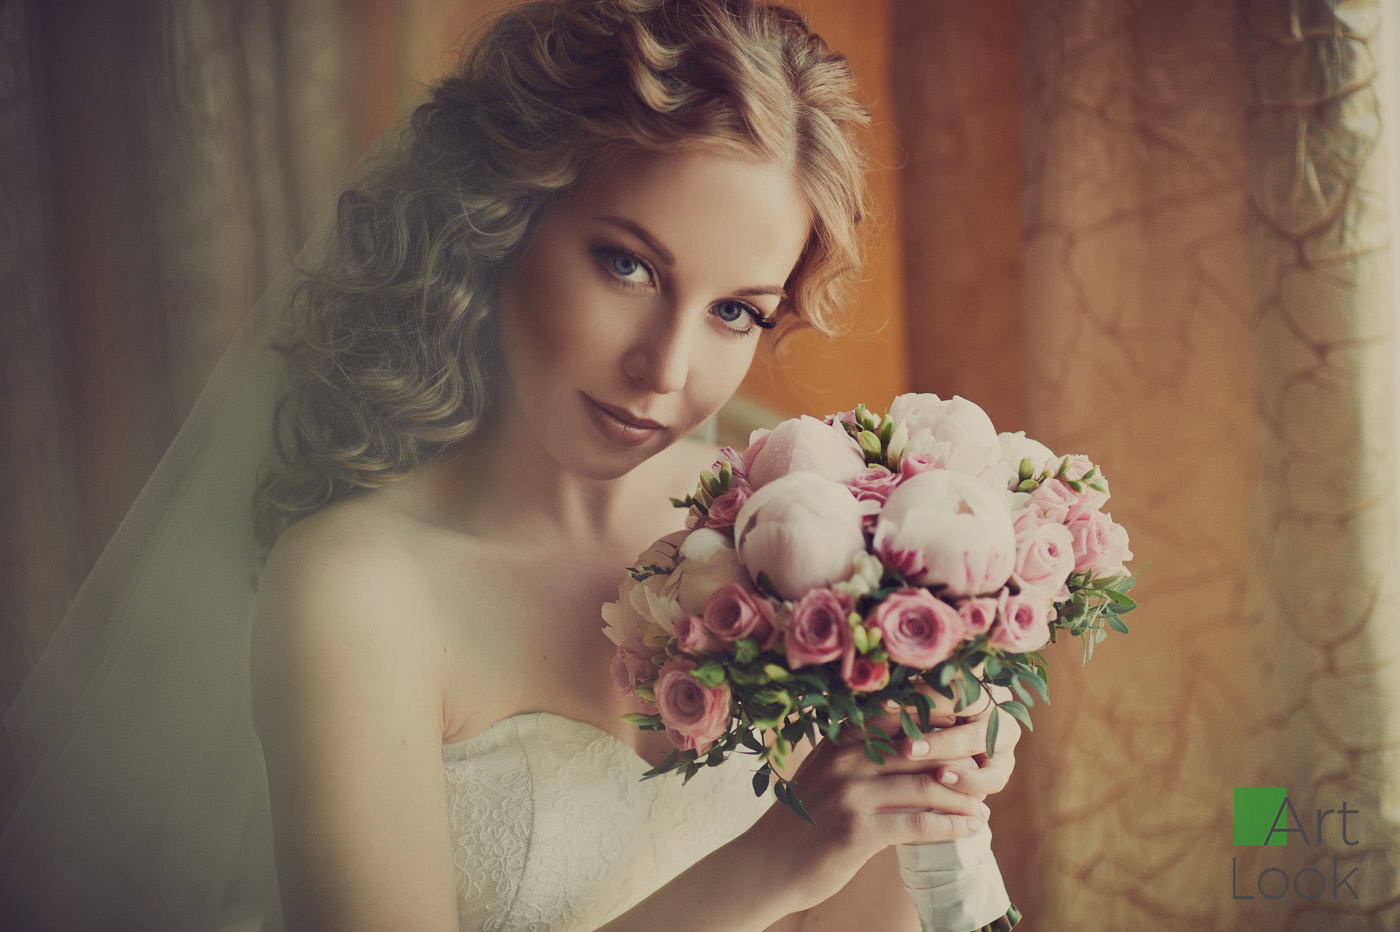
Now the face is lit from both the right and left sides, thanks to the reflector we got rid of deep shadows, but the face, nevertheless, looks voluminous in the photo.
Use white or silver reflectors, with which the difference between the side illuminated by the light source and the side illuminated by the reflector will be minimal. This slight difference mimics natural lighting.
This lighting technique produces really good results and is a starting point for many portrait photographers. To darken shadow areas, move the reflector away from the subject.

leave a comment